Swipe layers
A swipe layer compares two (or more) raster sources side-by-side under a draggable handle on the map. The user drags the handle left/right to reveal more or less of the clipped source over the base source(s).
When to use
- Before / after comparisons (e.g. pre- and post-event imagery).
- Comparing two model outputs over the same area.
- A/B comparison of band combinations or processing levels.
For two layers that should both be fully visible and toggleable independently, use two standard layer cards instead.
Configure
Swipe configuration lives in meta.swipeConfig:
- Clipped source (
clippedSourceName) — the source revealed under the swipe handle. Choose from the layer's data sources. - Base source(s) (
baseSourceNames) — one or more sources rendered underneath. When more than one is provided, the viewer shows a small picker so the user can switch which base is compared against.
Each source still uses the same data source format as a normal layer (COG,
XYZ, WMS, etc.), and position on each DataSourceItem ('left' or
'right') controls how it participates in the comparison.
Validation
- Exactly one
clippedSourceNameis required and must match a source indata. baseSourceNamesmust contain at least one entry, each matching a source indata.- The clipped source and base sources should share a CRS and roughly cover the same extent for the comparison to be meaningful.
Add a swipe layer
- Open the Add New Layer screen — Layers tab → Add Layer, or click the + inside an interface group.
- Pick "Add Layer Card" in the type selector.
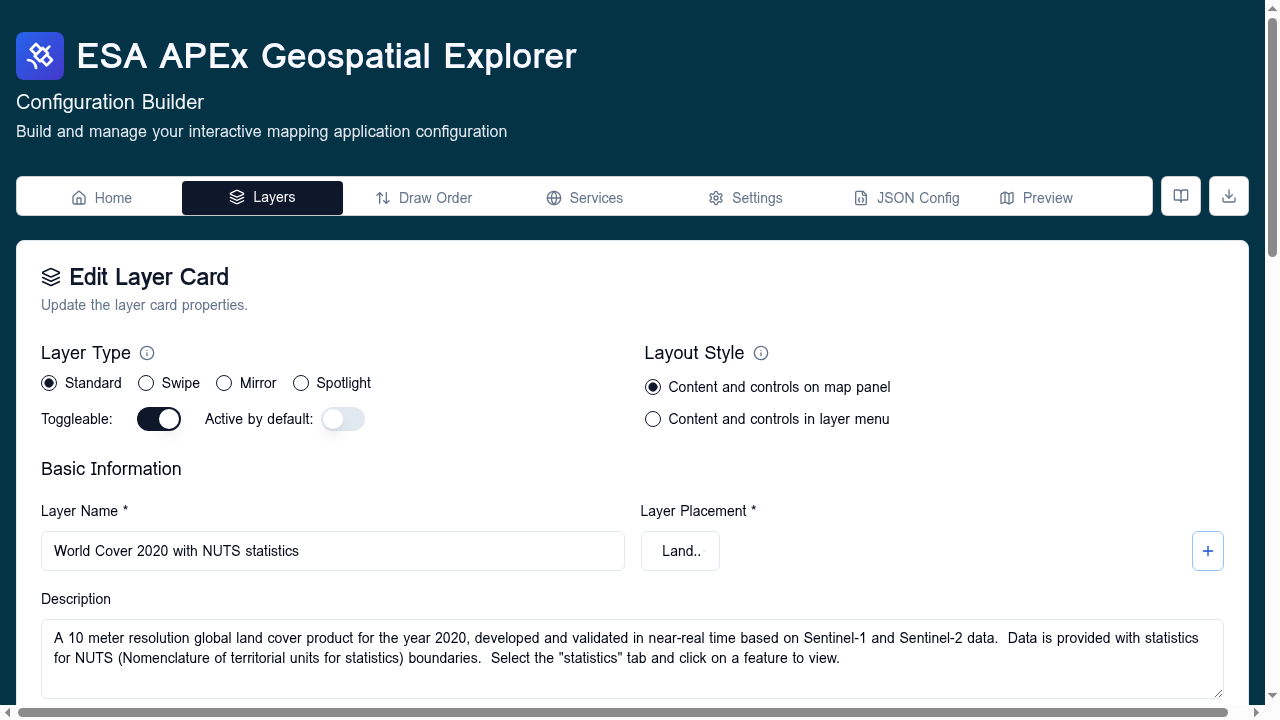
- In the editor, set Layer type to Swipe in the Basic info section.
- Add the Left data source — click Add Data Source. The form prompts for a Position; pick Left. Provide the source via direct URL or from a service.
- Add the Right data source — click Add Data Source again, pick Position: Right, and provide its URL.
- Set the swipe configuration — under
meta.swipeConfig:- Clipped source → the source that should be revealed under the handle (typically the Right source).
- Base source(s) → the source(s) shown underneath (typically the Left source). Add more than one if you want a base picker in the viewer.
- Style each side — visualisation choices (colormap, RGB composite, etc.) apply per source; see Data visualisation.
- Save Layer. The new swipe card appears in the chosen interface group, with a swipe badge.
- Open GE Preview to confirm the handle drags as expected.
Related
- Layers — overview of the three layer types.
- Standard layers — toggleable overlays.
- Data visualisation — styling applies independently to each side.