Name, interface group and branding
In this exercise you will start a fresh configuration and give it a title, an interface group and a colour scheme.
- Open the Config Builder at https://apex-ge-config-builder.sparkgeo.uk/.
- On the Home tab, edit the Title of the configuration to something of
your choice — for example,
Forest Carbon Workshop. - Move to the Layers tab.
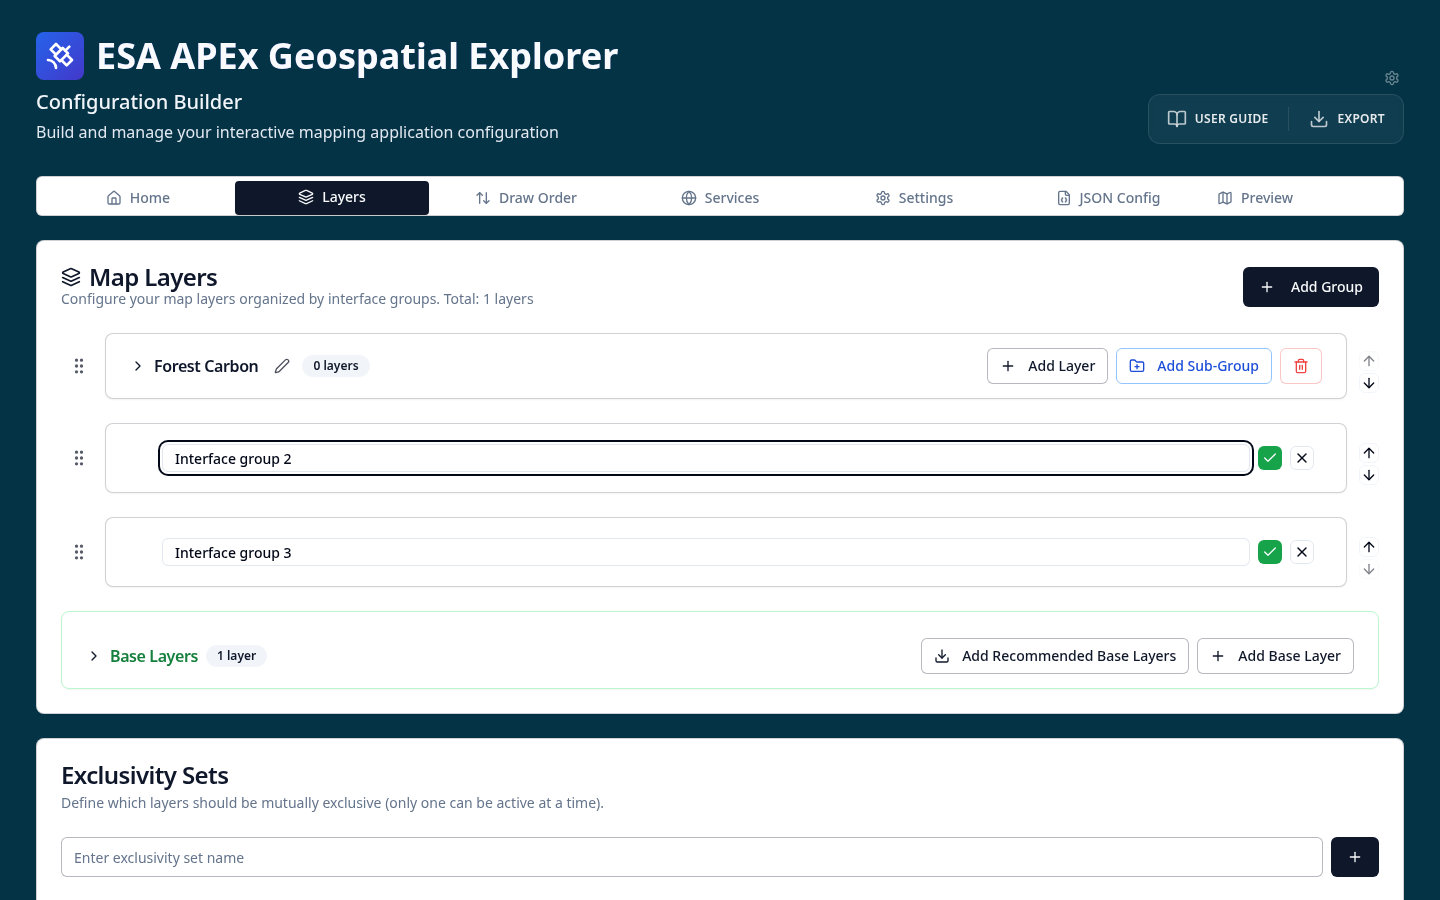
- Edit Interface group 1 and rename it to
Forest Carbon. - Delete the other default interface groups so only Forest Carbon remains.
- Move to the Settings tab and change some of the colours to a scheme of your choice.
- Select the GE Preview tab to see the changes applied to a live copy of the Geospatial Explorer.
Your UI might now look something like this:
Interface groups
Interface groups organise layers into named tabs in the Geospatial Explorer. See Interface groups for the full reference.